Creating a unique font can elevate any design project, making it stand out and reflect a personal touch. Whether you’re a seasoned designer or just starting, understanding the basics of creating font will allow you to bring your creative visions to life.
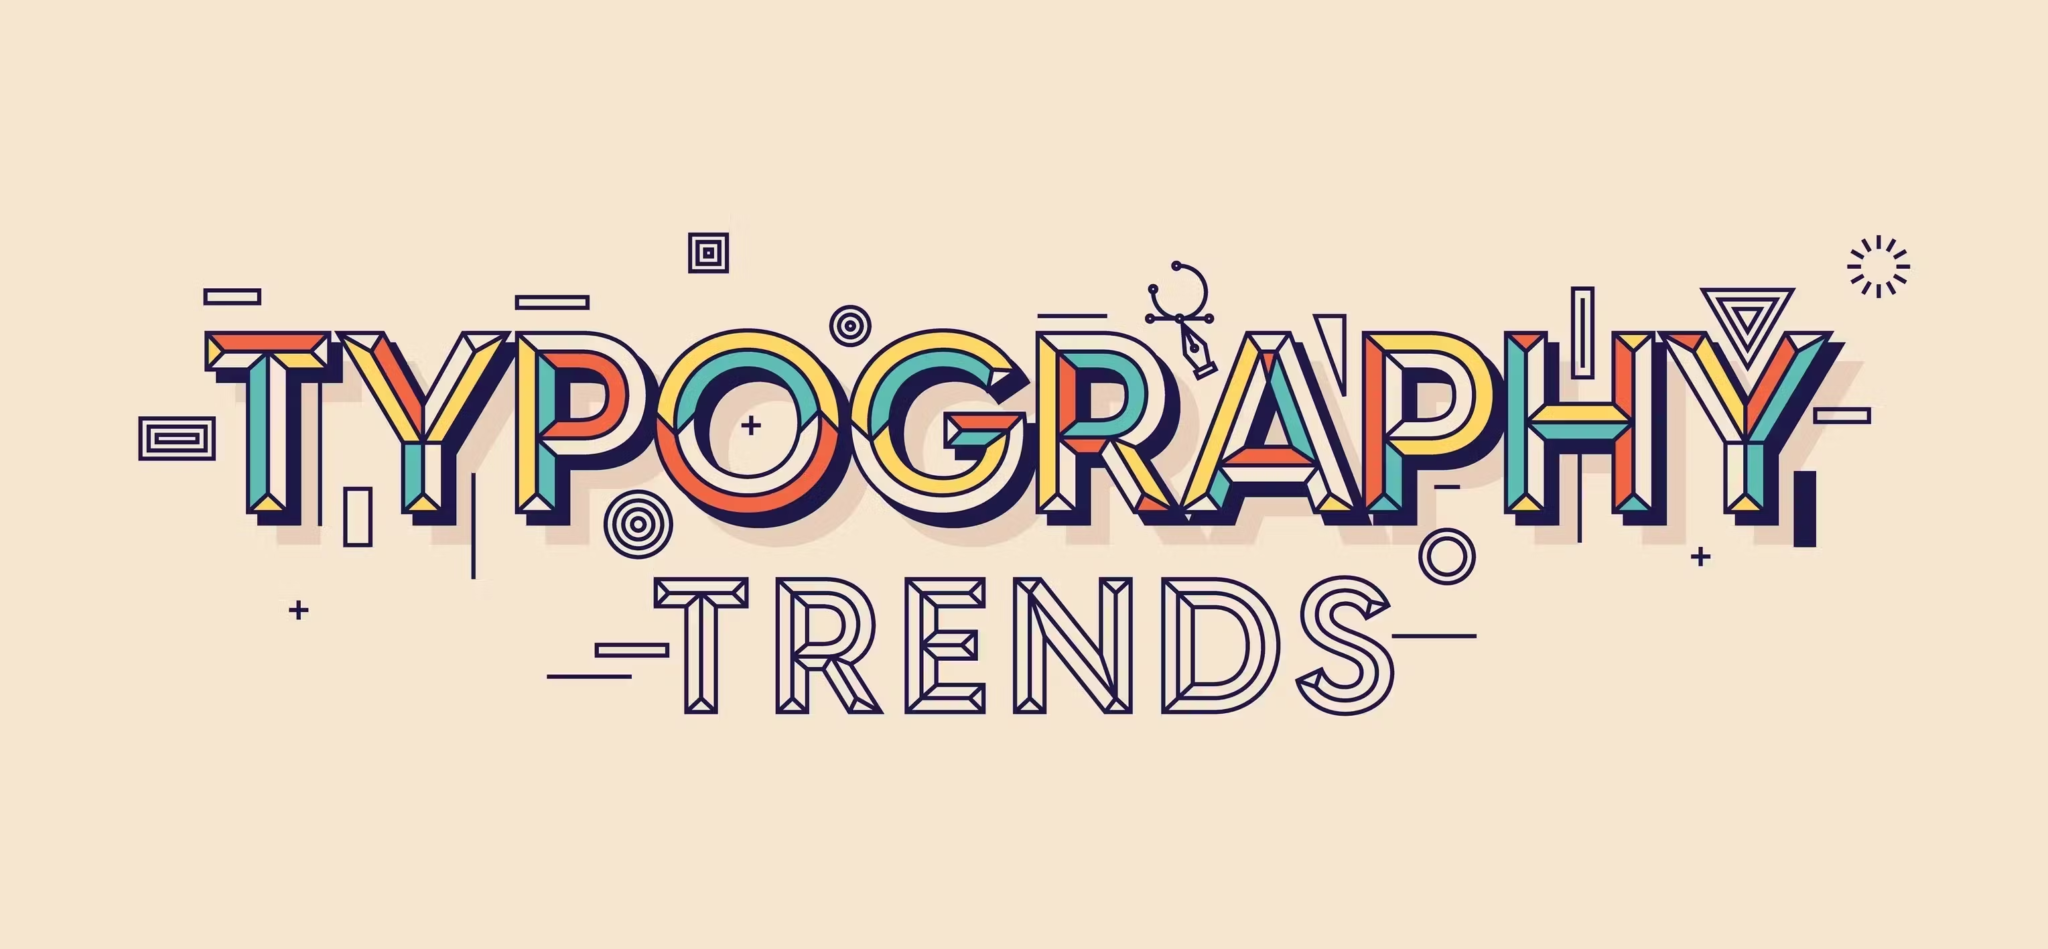
How to Master Font Creation for Unique Typography Design
This article will guide you through the key steps to master creating fonts, helping you develop unique typography designs that truly resonate.
Understanding the Basics of Creating Fonts
Before diving into the process, it’s essential to grasp the fundamentals of font creation. Fonts are not just letters; they are a series of carefully designed characters that work together harmoniously. When starting with creating fonts, it’s crucial to think about the purpose of the font. The medium will influence decisions about font-weight, spacing, and overall design.
For instance, fonts meant for digital use might need to be bolder and clearer at smaller sizes compared to fonts intended for large print displays.
Choosing the Right Tools for Font Design
Selecting the right tools is a critical step in font design. There are several software options available, each offering different features that cater to various aspects of creating fonts. These tools allow designers to draft, refine, and perfect their fonts, ensuring that every character is aligned with their vision.
Some popular font design software offers a wide range of features, from basic drawing tools to advanced typographic controls. These tools can help you create vector-based fonts, which are essential for ensuring that your font scales well across different sizes and resolutions.
“With Adobe tools, you can put words that matter in a custom font that stands out on the screen.”
Developing a Unique Style
One of the most important aspects of creating fonts is developing a unique style that sets your font apart from others. This involves experimenting with different shapes, weights, and design elements until you find a combination that feels right for your project. The goal is to create a font that is not only functional but also visually appealing and memorable.
Start by sketching out your ideas on paper or digitally. Once you have a rough idea, you can start refining the details, such as the consistency of stroke widths and the balance between characters.
Testing and Refining Your Font
After developing your initial design, the next step is testing and refining your font. Testing is crucial because it helps you identify any inconsistencies or issues that might not be obvious during the design phase. This step involves looking at how the font performs in different sizes, contexts, and on various devices.
It’s also a good idea to get feedback from others. Based on the feedback and your own observations, make adjustments to improve the font.
Finalizing and Exporting Your Font
Once you’re satisfied with the design and functionality of your font, it’s time to finalize and export it. This involves making sure all characters are complete, consistent, and ready for use. Double-check that the font works well in various applications, whether it’s for digital or print media.
When exporting your font, choose the appropriate formats based on how it will be used. Each format has its advantages depending on the medium and platform, so be sure to select the ones that best suit your needs.
By following these steps, designers can create unique typography designs that stand out and make a lasting impact. Whether for personal projects or professional use, the ability to create your own fonts adds a powerful tool to any designer’s skill set. With practice and attention to detail, anyone can master the art of creating fonts and elevate their design work.